Charles Jimerson from CJ Commercial Roofing NJ has to say that dealing with a leaking roof can be a homeowner’s nightmare. It threatens the structural integrity of your home and can lead to potential mold growth.
The first step to resolving this issue is identifying the source of the leak. Water often takes an indirect path once it enters the roof, so you might need to follow the water stains back to their origin. Address the root cause of the leak promptly to prevent further water damage and to begin the drying process effectively.
Once you’ve pinpointed the leak, containing the water is crucial to minimizing damage. Use buckets or tarps to catch and redirect water, preventing it from soaking your possessions or further damaging ceilings and walls.
While this doesn’t fix the leak, it allows you to control the immediate situation. This gives you some breathing room to plan a repair.
After containment, focus on drying out the affected areas to mitigate mold and rot. Utilize fans and dehumidifiers to speed up the drying process. Make sure to ensure proper ventilation in the attic and other impacted spaces. These steps not only help restore your home but also prepare it for any future weather challenges.
Identifying and Assessing Roof Leak Damage
Detecting a roof leak early can prevent further structural damage and costly repairs. By understanding the signs and evaluating the extent of damage, you can take timely action.
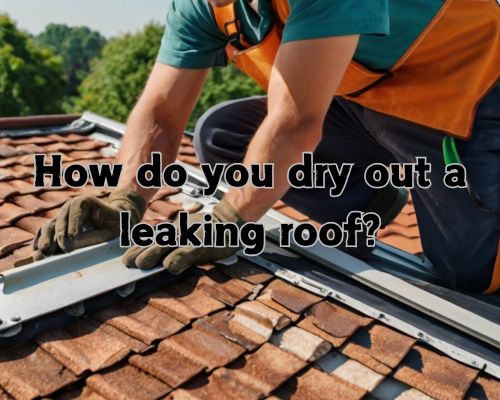
How to Find a Roof Leak
Start your inspection by looking for water stains on ceilings or walls, often appearing as yellow or brown patches. These are key indicators of a leak.
Check for mold growth in damp areas, as a musty smell can signal hidden leaks.
Examine the roof for damaged or missing shingles, especially after severe weather.
It’s crucial to inspect the attic for water stains and wet insulation. Using a garden hose to mimic rain can help locate affected areas.
Evaluating the Extent of Water Damage
Once the leak is identified, assess the level of water damage. Water stains on ceilings and walls indicate a need for immediate attention.
Mold growth suggests prolonged exposure to moisture, requiring professional cleaning to prevent health issues.
Look for structural damage in the attic and around the roof’s exterior. Damaged or missing shingles may need replacement to avoid further leaks.
Contact your homeowner’s insurance to discuss coverage and potential claims for extensive damage. Ensure that repairs are made promptly to maintain the integrity of your home.
Effective Solutions for a Dry Roof
When facing a leaking roof, it’s crucial to address both immediate and long-term solutions. You can start with temporary fixes to control water damage, then proceed with repairs and maintenance to ensure your roof remains leak-free. Let us have it with Charles Jimerson from CJ Commercial Roofing NJ.
Temporary Leak Fixes
Act quickly to minimize damage by employing temporary fixes.
Caulking and using roof sealant are quick methods to plug small leaks.
Spread roofing cement with a putty knife to seal cracks. For larger leaks, placing a tarp over the damaged area provides a temporary shield from rain.
Essential tools include a flashlight for locating leaks and pliers for working with roofing nails. Keep clogged gutters clean to prevent overflow that can exacerbate roof leaks.
Long-Term Roof Repair and Maintenance
Invest in long-term solutions to maintain a dry roof.
Regular inspections of roof shingles and metal flashing help spot issues early.
Replace damaged or curled shingles promptly to avoid leaks.
Secure venting boots with sealant to stop water entry. Consider asphalt shingles for durable protection.
Schedule routine maintenance with a professional roofer if roof repairs require expertise. Roof maintenance will sustain the integrity of your roofing materials and prevent roof leaks efficiently.
DIY Repair Guide
For those inclined to handle repairs themselves, a DIY repair approach can be effective.
Begin by identifying the leak source.
Prepare roofing materials like roofing cement, sealant, and a putty knife.
Use a step-by-step guide to replace or fix leaks in roof shingles.
Ensure that all needed tools, such as a ladder and roofing nails, are ready.
For damaged shingles, use a hammer to carefully lift and reposition them as necessary.
This hands-on method allows you to address common maintenance issues while saving on professional fees.